
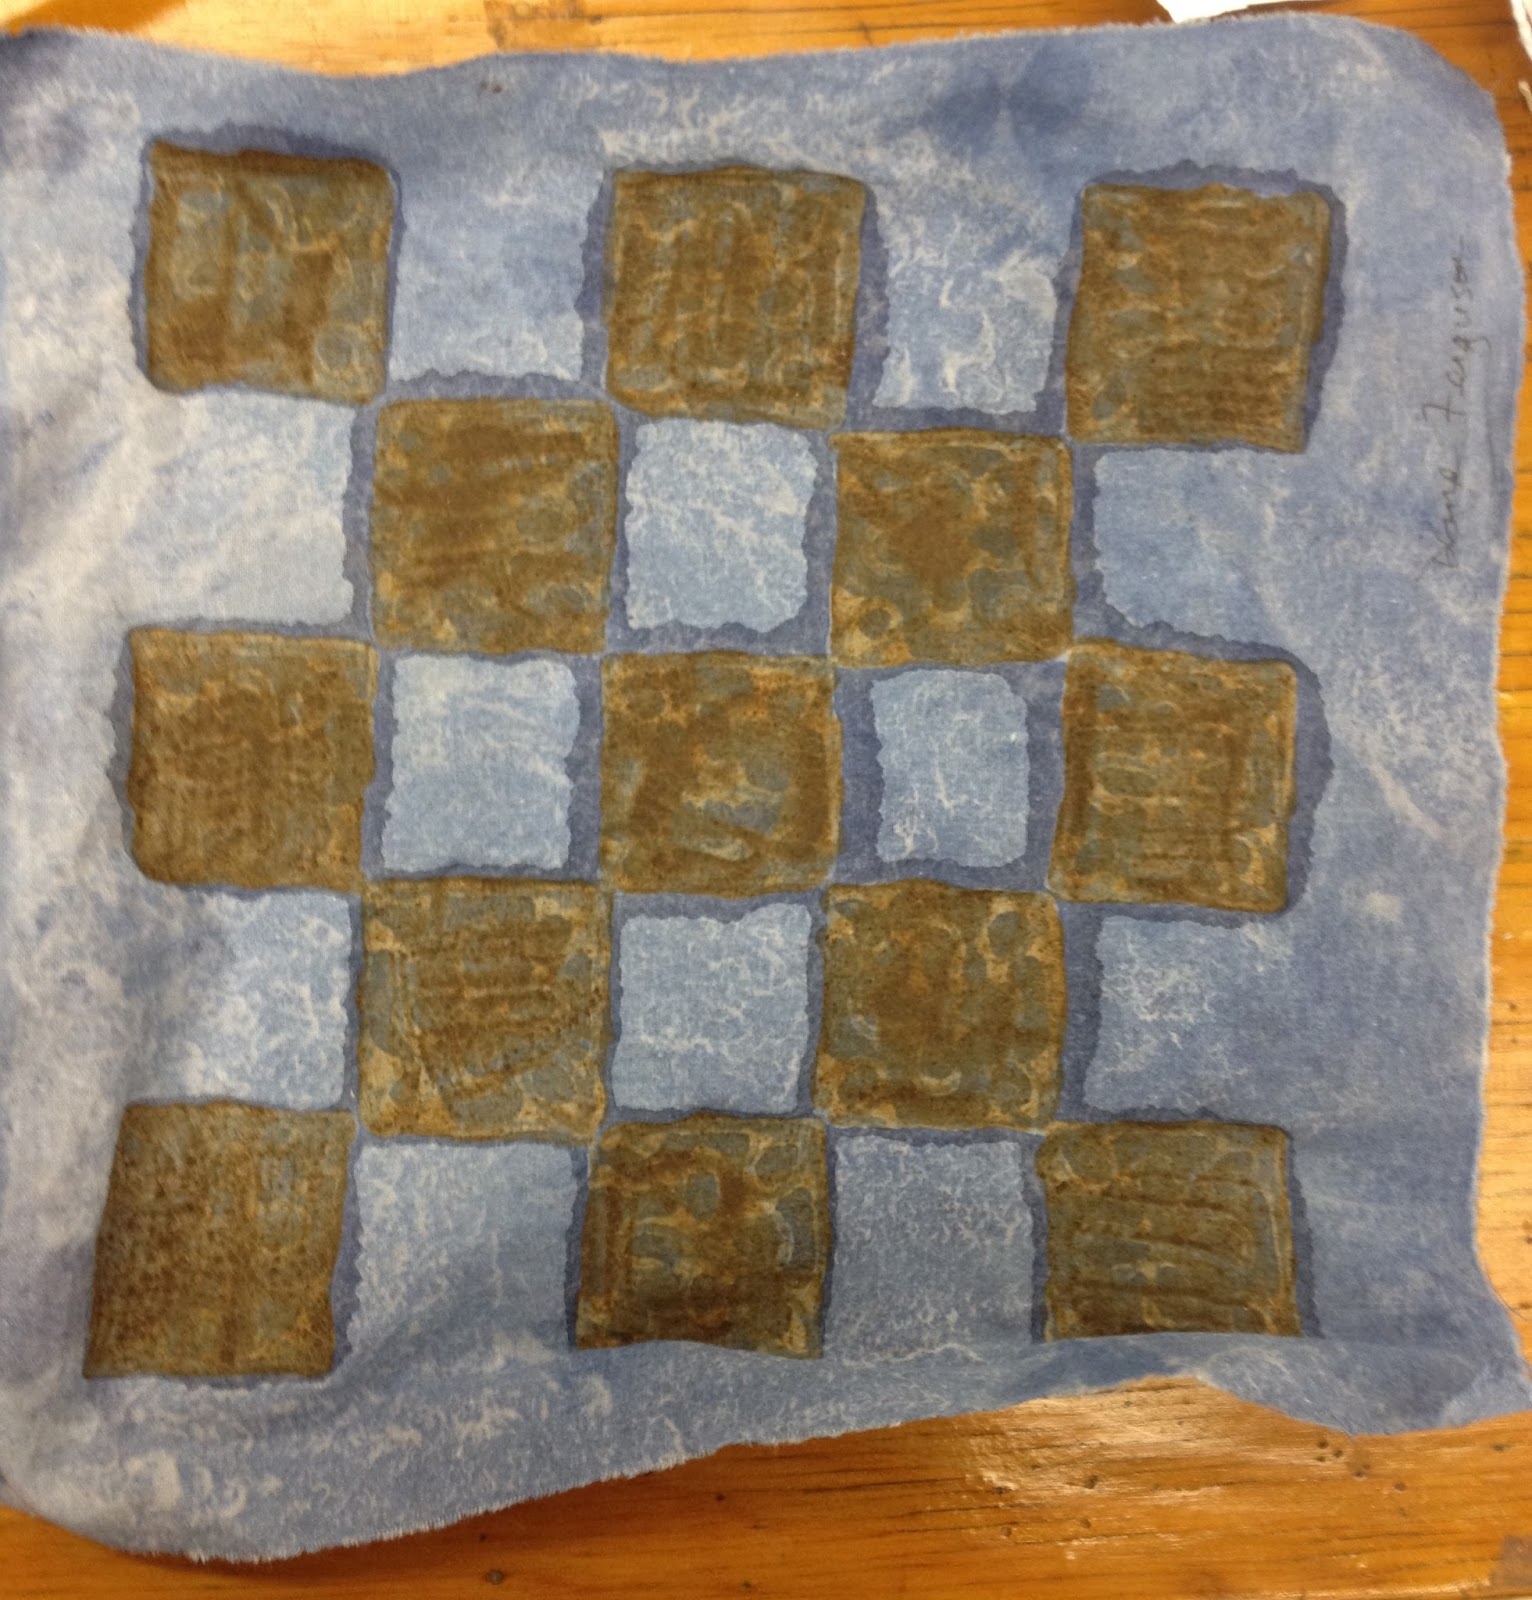
Besides the ikat dyeing and weaving, we also had some fabric and clay to play with. A slurry of these three ingredients was mixed up.


So the result was pretty light after one dip in the indigo. Of course, the vat could have been weakened by use as well, it was a busy workshop.


Still more down time waiting for my turn weaving on the group warp in the back of the weaving studio. I thought we would get a sample of it, but I must've have missed out on that.
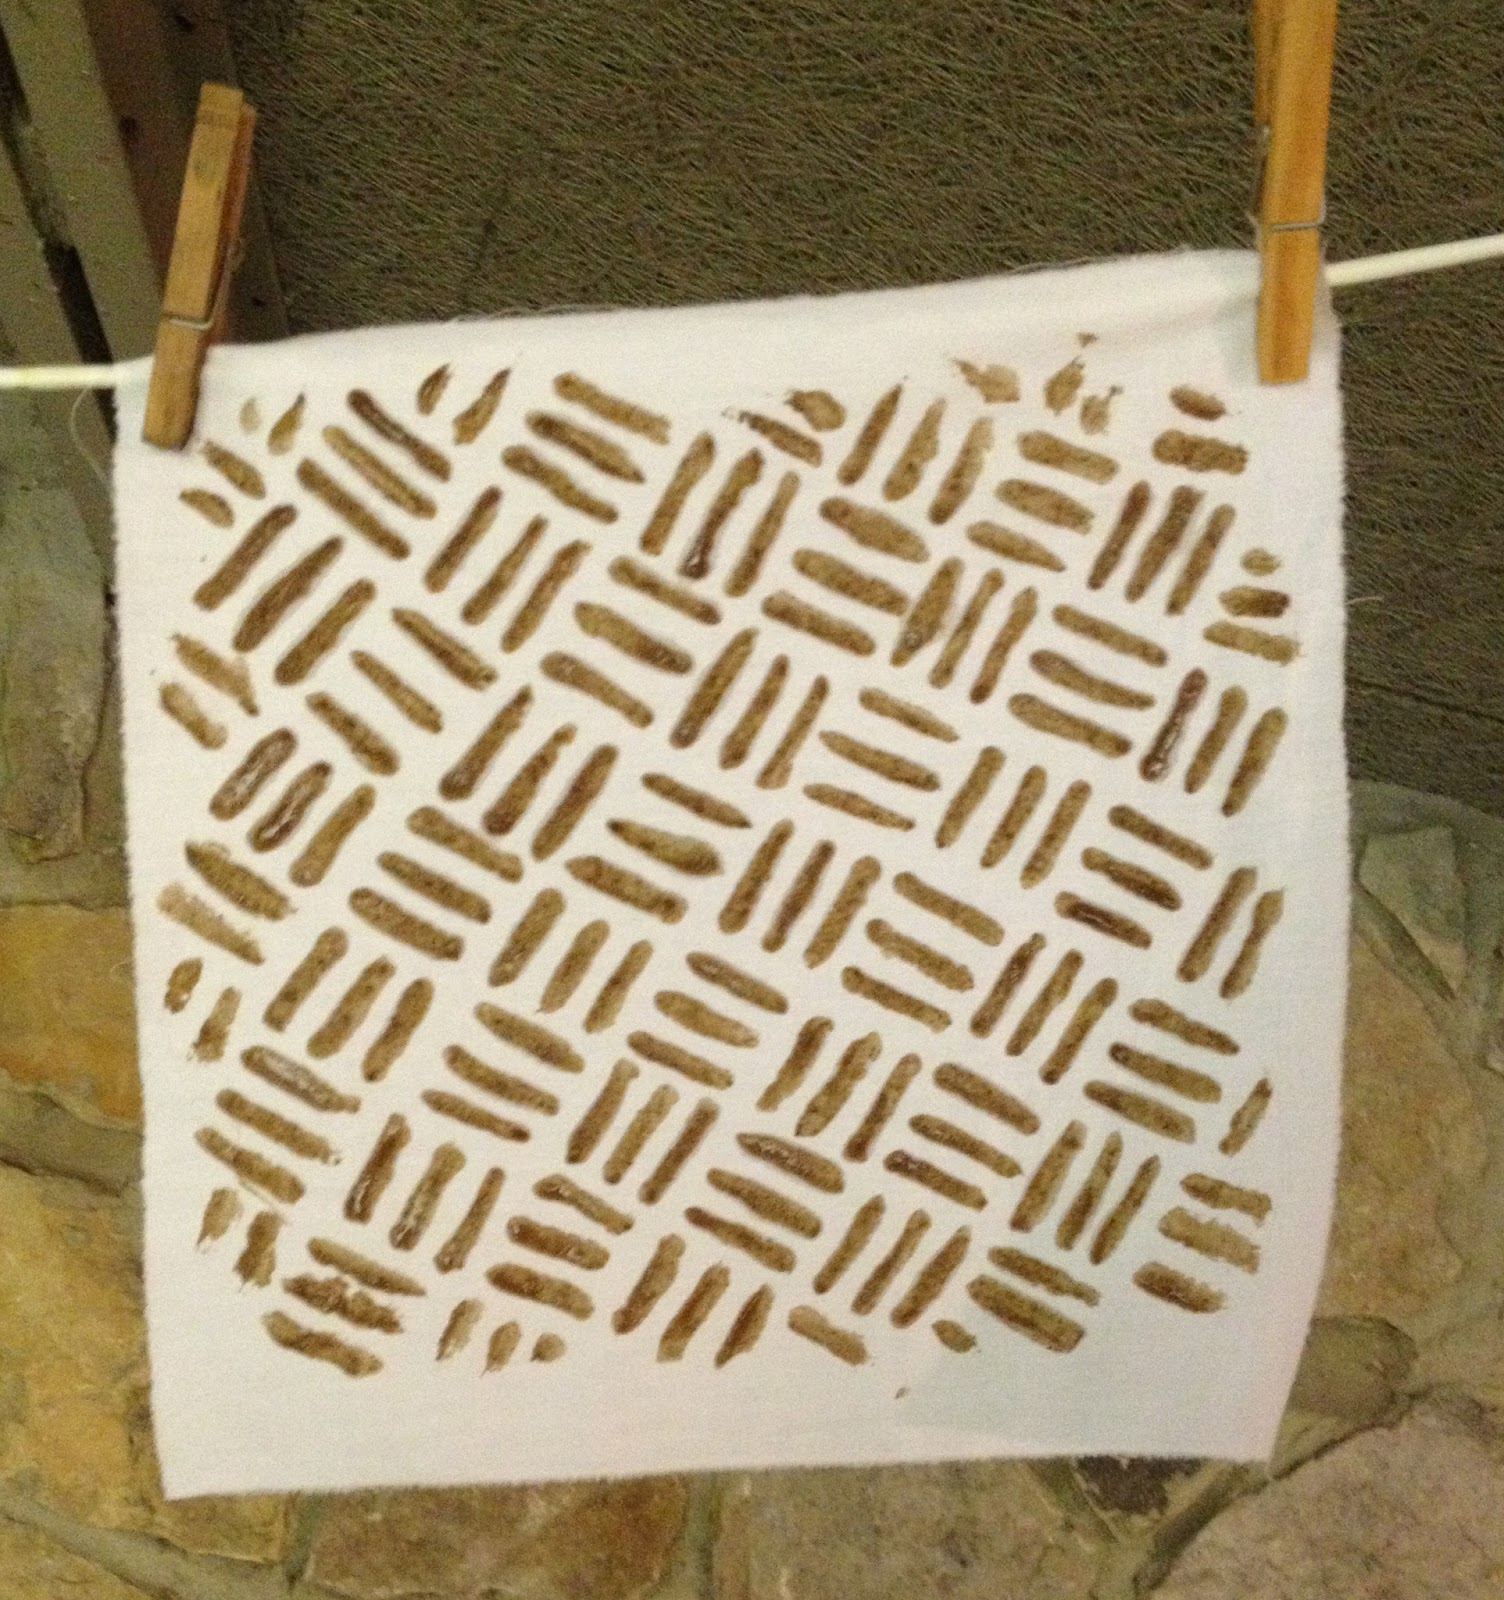
So back to the clay. This time with a brush, applying the clay very heavily. So much clay that the fabric curled up as it dried.

Contrast was much better. The indigo did not creep into the design from the other side of the cloth since the clay penetrated better with the brushing technique.


I've enjoyed sharing my experiences with indigo and hope to hear about what you would do if you had a vat of indigo living at your house.
Can we have your resist recipe?
ReplyDeleteMichael Garcia's DVD explains the process thoroughly. The proportions are his favorite - 1,2,3 - magnesium salt, gum arabic, clay. I didn't mix it up at the workshop so I'm not really sure they were faithful to that recipe. I believe with most resists that is often a case of whatever works - and your humidity and substrate play an important part in that. So think of it as mud pies and just experiment.
ReplyDeleteDiane
I am really curious about what kind of clay you are using for the resist.
ReplyDeleteWhat a fabulous and creative month!!
ReplyDeleteThe clay is Rhassoul clay. It's used in the cosmetic industry. Others might work also.
ReplyDeleteBeth,
Thanks for your support. It did get my ideas churning to dig through the box of samples and notes and photos. So many projects I want to start and so many I am energized to finish. All those that need yet another layer of color or some embroidery or ....
Diane